
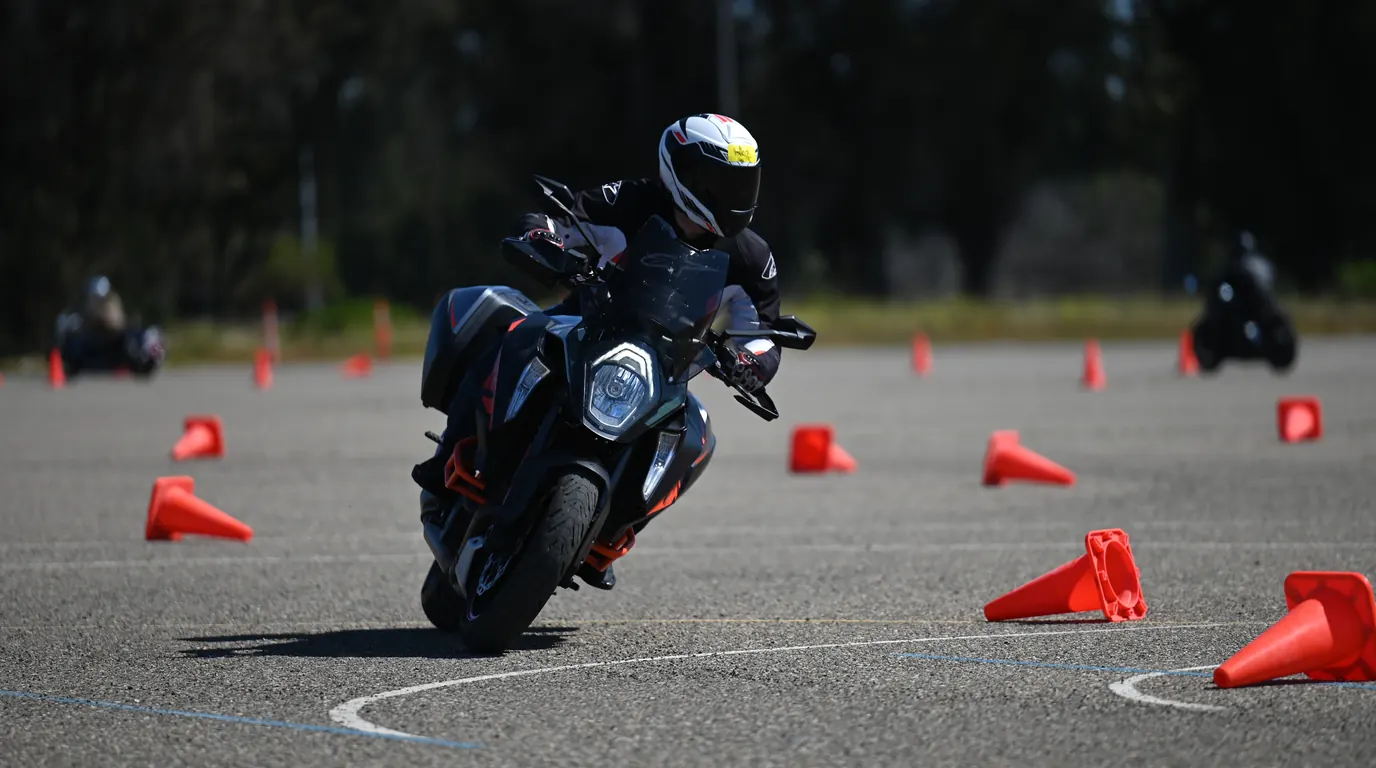
Motorcycle confidence: technique and drills, step by step
It’s the weekend and it’s still early: a mall or school parking lot, completely empty. You’ve had the bike for a few weeks and everything’s fine in a straight line, but every time you hit a tight turn, a situation that calls for low-speed maneuvering or a hard stop, that’s when, bam!, your hands clamp down, your shoulders and neck tense up, your eyes drop to the ground and you end up riding slower than you’d like. Sound familiar? It happened to almost all of us.
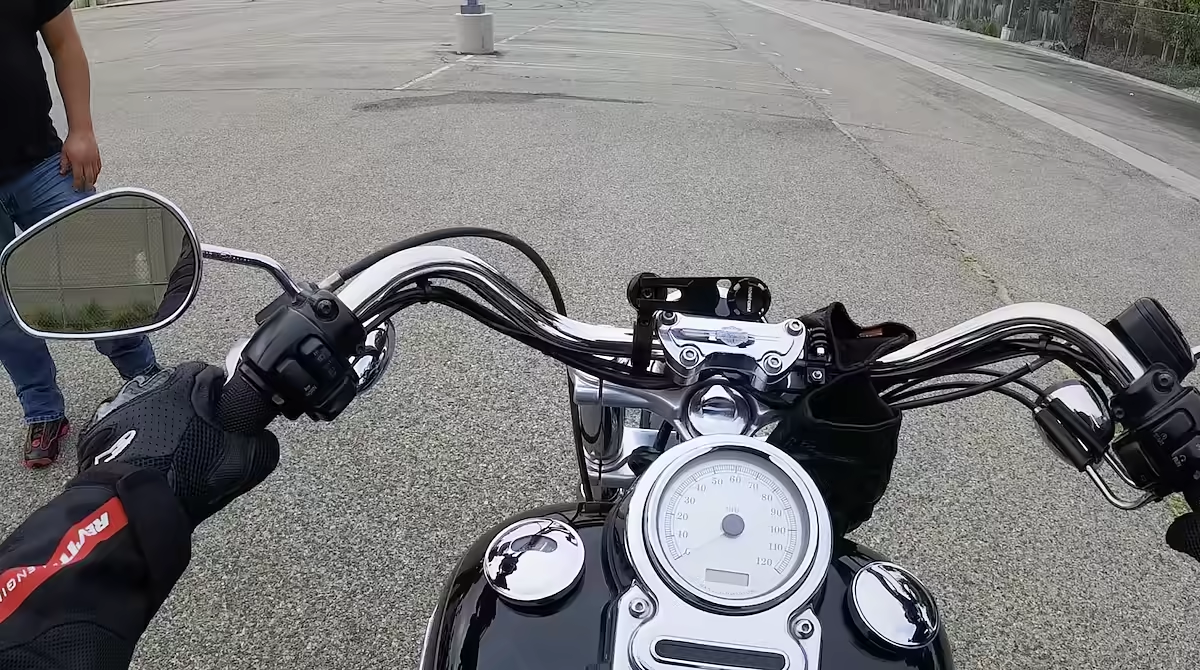
The good news is that confidence on a motorcycle isn’t a gift: it’s built with small, well-chosen repetitions, done in a safe place, in full gear. Let me say it again: in full gear! Here you’ll find the drills and technique taught in courses like the MSF Basic RiderCourse, explained calmly and laid out in a week-by-week plan.
If you don’t have a course, gear or a pre-ride check of your bike yet, start with getting started on a motorcycle and come back once you’ve got that covered.
The short version: Confidence comes from structured practice, not from courage · Look where you want to go, not at the danger · To lean the bike, push the grip on the side you’re turning toward (countersteering) · In a curve: slow, look, press, roll · Use both brakes, squeeze progressively, and practice it before you need it
Why confidence can be trained
Fear on a motorcycle is almost never irrational: it’s information. The problem starts when it takes over the controls: your arms lock up, you stare at the obstacle, you chop the throttle mid-corner or you brake with one finger and in a rush.
Deliberate practice turns reactions into habits: if you’ve already done plenty of hard stops in a parking lot, the day a car cuts you off, your body won’t have to make anything up.
Before you start, three safety rules that aren’t up for negotiation: a certified helmet, jacket, gloves, pants and boots that cover your ankles; a clean surface with no sand; and a space with no cars or pedestrians. Ask the property owner for permission.
Parking-lot drills
Spend 20 to 30 minutes per session; when you’re tired, you repeat bad habits. Warm up with wide laps.
The clutch friction zone
The friction zone is the part of the lever’s travel where the clutch starts sending power to the rear wheel. Mastering it is the foundation of low-speed control, because it lets you move at nearly walking pace without jerking.
- With the bike in first gear, ease the lever out slowly until you feel the bike start to move. That’s the friction point.
- Hold the lever there and roll a few yards without touching the throttle, on idle alone.
- If you need more push, give it a tiny bit of throttle, but keep the lever in the zone.
- To stop, pull the lever all the way in and use the brake; don’t let the bike lurch forward by letting the lever go all at once.
Practice in a straight line, then with gentle curves. When you can ride the whole parking lot without the bike bucking or stalling, you’re ready for the next level.
Low-speed balance with the rear brake
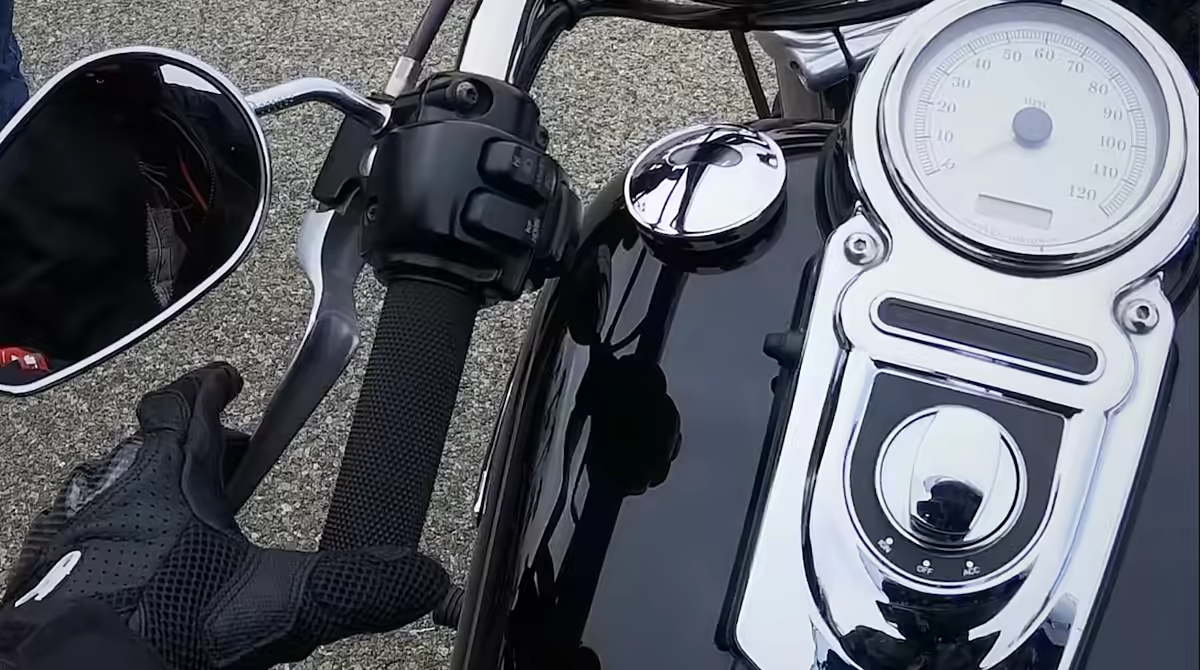
With the lever in the friction zone, your foot over the rear brake pedal and your eyes up, you move slowly and control your speed with the rear brake, not by letting out the clutch. With a little steady throttle and the rear brake acting as a “governor,” the bike settles down and you can turn with control: the engine keeps pushing and the brake keeps it from taking off.
Keep your knees squeezing the tank, your shoulders relaxed and your elbows loose. If your arms are stiff, the handlebar sends every little bump right back to you.
Figure eights and U-turns
Use cones, plastic bottles or chalk to mark out a figure-eight course, starting with plenty of room and tightening it little by little. U-turns are practiced inside a box that you keep narrowing.
For both drills:
- Turn your whole head toward where you want to end up, not just your eyes.
- Keep the clutch lever in the friction zone and control your speed with the rear brake.
- Lean the bike and keep your torso upright, without hanging off the handlebar.
Practice in both directions: almost all of us have an “ugly,” weaker side; mine is the left.
Vision: you go where you look
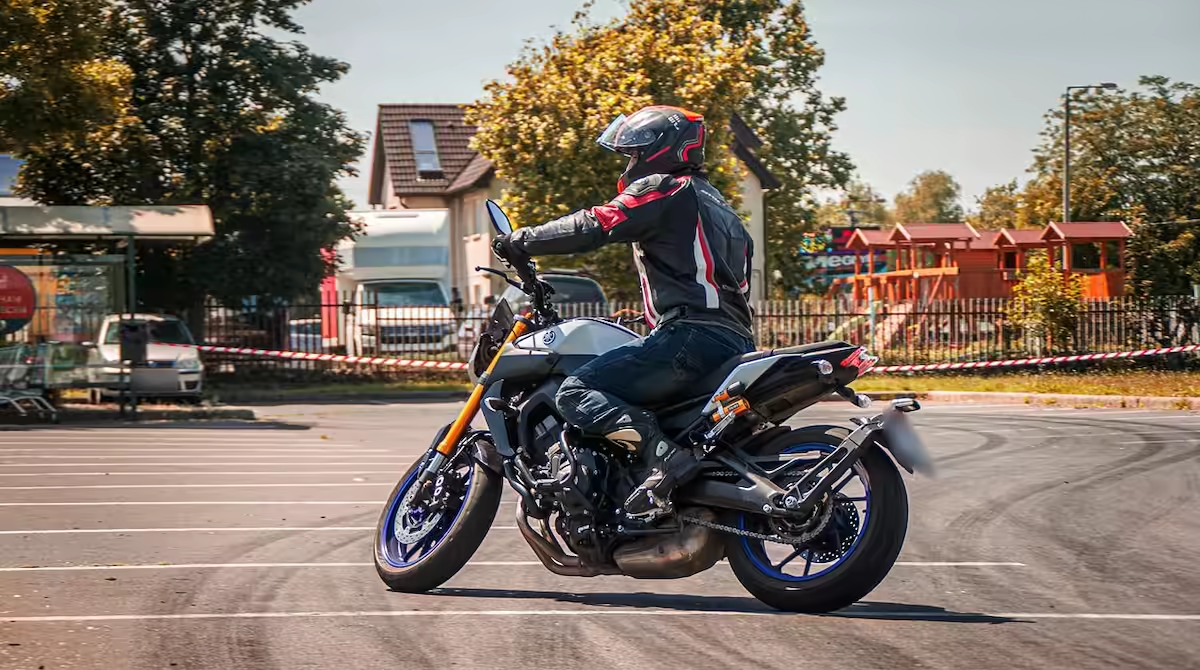
It’s the advice every instructor repeats most, and for good reason: the bike tends to go where you look. If you lock your eyes on the pothole, the parked car or the pole, your body adjusts without you noticing and your line drifts toward it. It’s called target fixation, and even experienced riders fall for it. For example, on one ride I pulled off the highway to get gas and a pickup truck was pulling out; I stared right at it and nearly crashed into it, but, believe it or not, my mind told me: “Eyes on the pump, eyes on the pump!”
The fix is to train a habit:
- Look for the exit: in a curve, look where you want to come out, not at the edge of the road.
- Turn your head, not just your eyes: that way your shoulders and arms line up better.
- Look far ahead: in the city, focus several seconds down the road, not on the car right in front of you.
- When there’s an obstacle, look at the gap: the open space you want to ride through, not the obstacle.
A good drill: circle a cone at low speed, always looking at the open space. The moment you look at the cone, you’ll drift toward it.
Countersteering: what really turns the bike
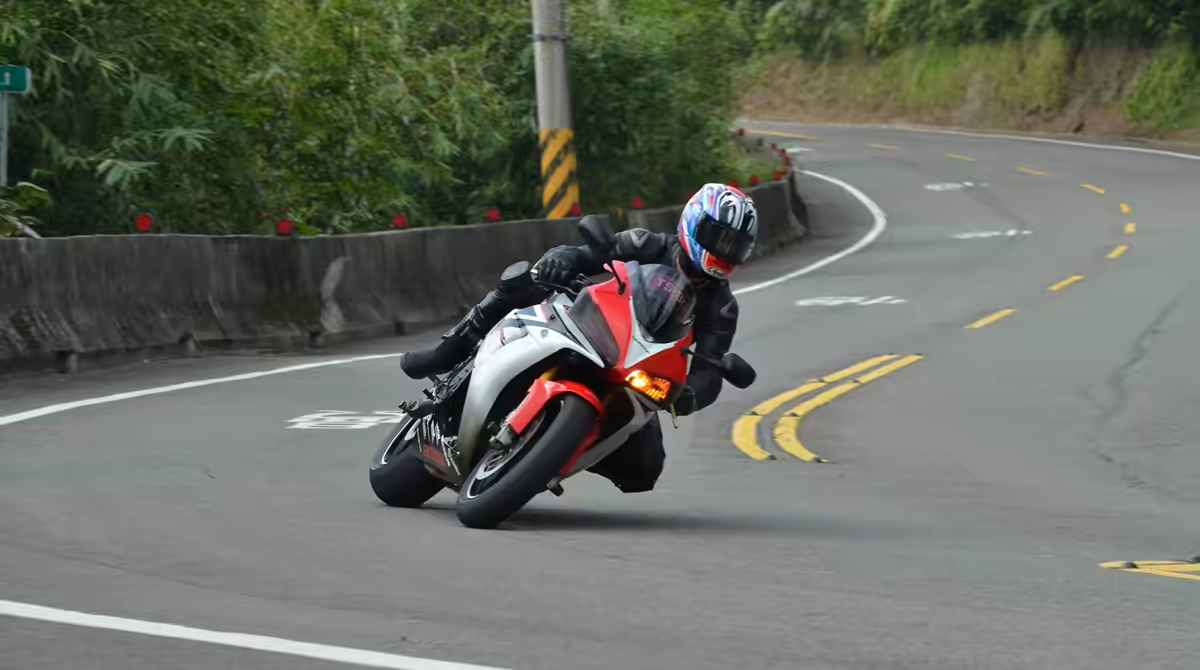
Here’s a detail that surprises a lot of people: at normal speed, to turn left you don’t turn the handlebar left; you push the left grip forward. That’s called countersteering, and you’ve been doing it since day one, even if you don’t notice.
The physics, short version
A motorcycle doesn’t turn like a car. To take a curve it needs to lean, so the weight is on the inside. When you push the left grip forward, the front wheel points slightly to the right; its contact patch moves toward the outside of the curve, and the top of the bike, with the weight on it, falls to the left. Once it’s leaned over, the bike carves the arc on its own. Then, as it leans, the wheel turns inward to follow the curve.
The gyroscopic effect of the wheels and the steering geometry help, but what matters to you is practical: more pressure on the grip, more lean; less pressure, less lean. At very low speed, like in parking-lot maneuvers, the effect almost disappears, and that’s when you do turn the handlebar toward the turn.
How to practice it
Find a quiet street and ride in a straight line at a moderate speed. Gently push the right grip: the bike will lean to the right and take a gentle curve. Release the pressure and it will straighten up. Try both sides. What you want to feel is that the lean follows a small input, without having to force your body.
A common mistake is gripping the handlebar hard. Keep your fingers relaxed and your elbows loose: that way the bike responds precisely.
The MSF cornering technique
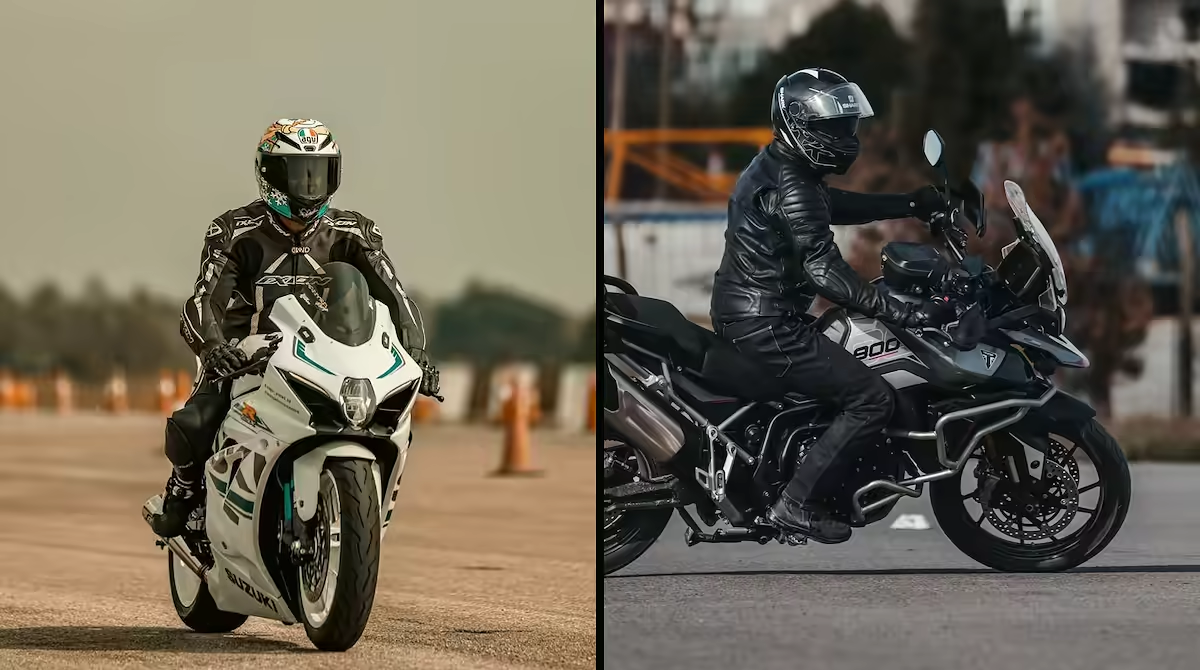
The Motorcycle Safety Foundation (MSF), which publishes the Motorcycle Operator Manual, teaches a simple sequence in its courses for taking curves in order. It boils down to four words: Slow, Look, Press, Roll.
- Slow: brake and bring your speed down before the curve, while the bike is still upright. Going in braking hard with the bike leaned over is a recipe for losing traction.
- Look: turn your head toward the exit of the curve and find the spot where you want to end up. Everything about vision applies here.
- Press: push the grip on the side you’re turning toward to lean the bike. It’s countersteering, now with a purpose.
- Roll: roll on the throttle gradually and steadily through the curve to stabilize the bike and stand it up on the way out.
If you feel you’re coming in too fast, the first reaction is usually to chop the throttle and look at the ground, which is exactly what unsettles the bike. Instead, look farther ahead, add pressure on the grip to lean a little more (bikes can usually lean more than you think) and hold the throttle steady.
A fair caveat: some advanced instructors criticize the sequence for pushing you to finish all your braking before you go in, and for tight curves or poor visibility, variations are taught. As a starting point, it’s an excellent framework, because it puts things in the right order: speed, vision, lean and throttle.
Emergency braking, swerving and fear
How to brake hard
The front brake provides most of your stopping power: the Minnesota Motorcycle Safety Center puts it at 70% or more in an emergency. That doesn’t mean you forget the rear. The general technique is:
- Use both brakes at the same time.
- Squeeze progressively, don’t grab: take the front lever from 0 to 100 and keep building pressure as the weight shifts to the front wheel.
- Keep the bike upright, your eyes ahead and your knees squeezing the tank.
- Don’t let go of the front brake halfway: hold the pressure until you come to a stop.
For certain situations, remember: front brake = stopping power; rear brake = control of the bike while braking. This can come in handy for those low-speed maneuvers that call for more control.
With and without ABS
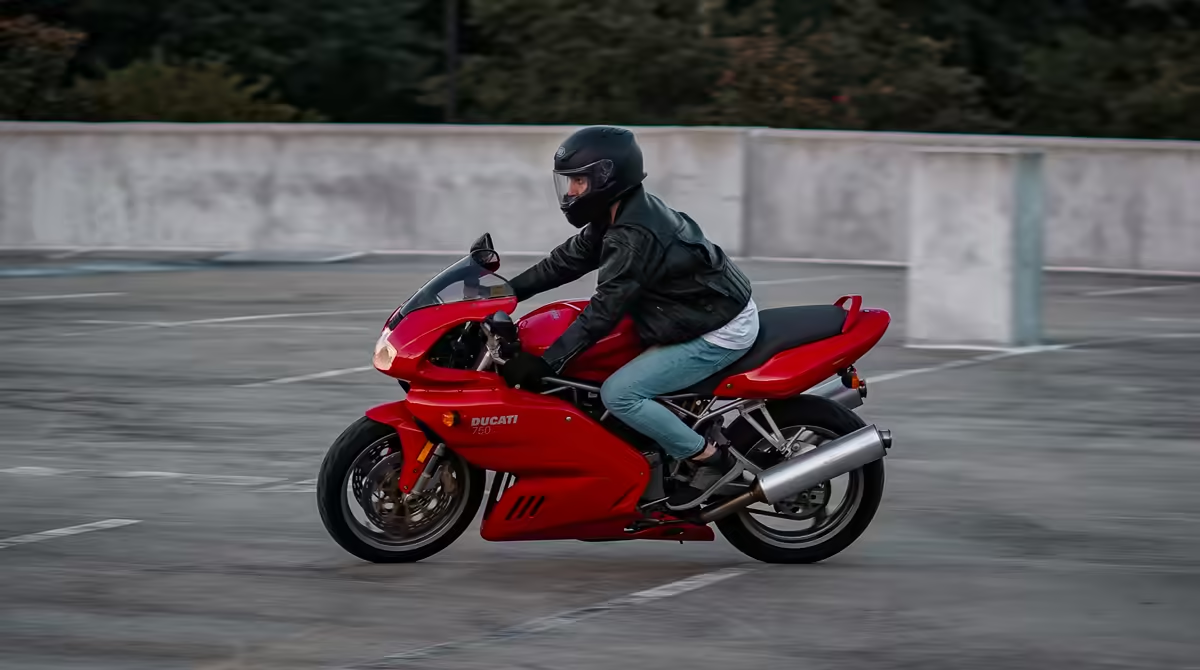
If your bike has ABS, the system eases off the pressure when a wheel is about to lock. You can squeeze harder, and it’s normal to feel pulsing in the lever: don’t let go out of fear. ABS doesn’t cancel physics: on gravel, on sand or in a curve with the bike leaned over, there are still limits.
Without ABS, the risk is locking a wheel. If you accidentally lock the rear on pavement with good grip, the MSF manual says you can keep it locked until you come to a complete stop: with the bike upright and in a straight line, you stay in control. Releasing it once the rear has slid out of line with the front can cause a “high-side,” a violent snap upright that throws the rider over the bike. If the front locks, release the lever immediately and reapply it smoothly; that’s why progression matters. Practice on dry pavement and take your time, adding a little more force with each pass.
Swerving
Sometimes you can’t stop in time and what you need to do is swerve. It’s a quick countersteer: a firm push on the grip on the side you want to swerve toward, and a second push the other way to straighten up. Brake before or after the swerve, not during, because tire grip is limited and can only do one thing at a time. To practice, use two cones and start very slowly.
Managing fear
- Short, focused sessions: one skill per practice.
- Only raise the difficulty when the previous step comes out clean three times in a row.
- If something goes wrong, stop: breathe, check your posture and go back a step. Going back isn’t failing.
- Don’t ride in a hurry, tired or angry.
Week-by-week plan
A suggested guide; if something doesn’t click, repeat the week.
| Week | Goal | Practice |
|---|---|---|
| 1 | Low-speed control | Friction zone, starts, stops and balance with the rear brake |
| 2 | Tight turns | Figure eights and U-turns, both directions |
| 3 | Vision and countersteering | Circling cones while looking at the gap, grip pushes on a quiet street |
| 4 | Curves | Slow, Look, Press, Roll on curves you know, at low speed |
| 5 | Braking | Progressive and hard stops in a parking lot, with or without ABS depending on your bike |
| 6 | Swerving and review | Swerves with cones, and a short ride putting it all together |
After week six, ride streets you know, from less traffic to more. Later on, when you’re ready for high-speed stretches, plan your first freeway ride with the same patience.
Advanced courses and track days
An extra course speeds up what would take you months to polish on your own, because an instructor sees what you can’t. In the U.S., the MSF offers the Advanced RiderCourse (ARC), a one-day course for licensed riders that works on braking, cornering and hazard perception; the MSF itself pitches it as preparation for a track day. It also lists other formats under Advance Your Ride, like the Advanced RiderCourse Skill Practice, which is all hands-on riding drills. Requirements, length and price vary by school, so check the ones in your state.
A track day is a day on a closed circuit, with no traffic or intersections, with rules, flags and often instructors. It’s a more controlled setting than the street for learning to brake hard and lean, but it usually requires specific gear (a leather suit or equivalent) and a bike inspection. Each organizer sets its own conditions.
In Mexico, look for riding schools and local clubs that offer defensive motorcycle riding courses; what’s available changes from city to city, so ask for referrals. If you’re still getting your license, in the U.S. or in Mexico, check out our motorcycle license guide.
Frequently asked questions
How long does it take to build confidence?
It depends on how much and how you practice. With short, regular sessions, many people notice clear improvement within a few weeks, but solid confidence comes with miles and a variety of situations. There’s no official timeline; what matters is moving forward without skipping steps.
What is countersteering, and am I doing it without knowing?
Yes. It’s pushing forward on the grip on the side you want to turn toward, which leans the bike that way. Almost every rider does it intuitively above low speeds, but knowing about it lets you use it on purpose, especially to correct your line in a curve or to swerve.
Should I use the rear brake in an emergency stop?
Yes, both brakes. The front does most of the work, but the rear helps stabilize the bike. If you lock the rear with the bike upright and in a straight line, the MSF says you can keep it locked until you stop; the bigger concern is the front, which you apply progressively.
Is a track day for beginners?
Some organizers have novice groups, but it’s not the first step. First you need to master the basics and, ideally, take a course like the ARC. Check the organizer’s requirements and gear policy.
One cone at a time
Confidence doesn’t show up all at once one day; it builds with every cone you circle, every clean stop and every curve where you looked at the exit and the bike followed. Pick one drill, one morning and a safe place, and start there. And if you want an instructor to guide you, sign up for a course: it’s the best money you can spend.
Photos
Cover: Olga Houtsma, U.S. Space Force, via Wikimedia Commons · Public domain.
Photo 1: the author’s personal archive.
Photo 2: the author’s personal archive.
Photo 3: Peter Borko, via Pexels · Pexels License.
Photo 4: aa20335, via Wikimedia Commons · CC BY-SA 2.0 · cropped.
Photo 5: left, Anil Sharma; right, cnrdmroglu, via Pexels · Pexels License.
Photo 6: Zyla Rohly, via Pexels · Pexels License.

